Picture the scene. You’ve ordered an Instant Bed from Dig and are now waiting, shaking with excitement at the prospect of planting your new garden. You also know that your plants will take 1-2 weeks to arrive, and so, understandably, you may also feel a pang of desperation at not to be able to get out in the garden to plant them immediately. We know the feeling.
All is not lost though… because this is part of the plan. There is plenty to be getting on with in preparation.
So, before your plants arrive, we’ve set out everything you will need to do to lay the groundwork, ensuring you’re giving your new garden the best chance to thrive and flourish.
1. Tools
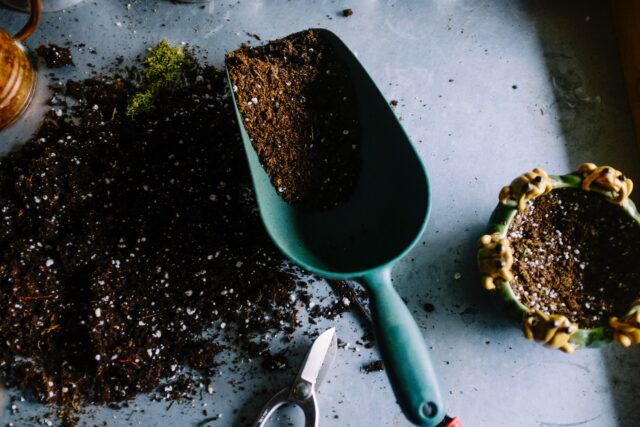
First things first, before you start gardening (you are now a gardener, remember) you’re going to need some basic tools. You can pick these up at your local garden centre, hardware shop, and even supermarket nowadays. Buy the best you can afford and they’ll have a good chance of lasting you a lifetime. We’ve put together a more detailed article on the basic tools you’ll need in your garden here but, in brief, you’ll want these to get you going:
- A garden fork
- A spade
- Secateurs
- A watering can
- Gardening gloves
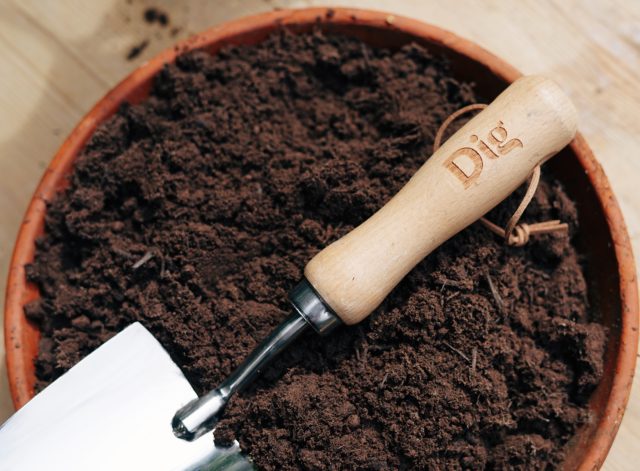
- A hand trowel (which helpfully comes free with every Dig order)
2. Prepare your bed
Generally speaking, we recommend planting our Instant Beds into empty patches of soil, devoid of existing plants*. If your bed isn’t empty but you’re not intending to keep any of the existing plants, remove these (remembering to wear gardening gloves). These plants, if removed carefully, can either be rehomed elsewhere in the garden, or potted and given to a friend. It is worth noting though that, sometimes, plants don’t like being moved and so ensure you’re comfortable with the possibility of a plant not surviving before you remove it!
Next, using your garden fork, loosen the soil, remove any old roots, extract as many stones and other debris like building rubble as you can, and give the soil a good turning over. Turning over soil is more or less exactly what it says on the tin. Dig the fork in, using your heel if necessary, lift as much soil as you can, and flip it over. Repeat. You’re going to want to complete this process down to the depth of the fork’s prongs across the entire bed.
3. A helping hand
To give your soil a little boost before planting your new garden, we recommend feeding the soil using multi-purpose peat-free compost. Place enough compost on the soil to cover the surface area to approximately 3cm deep, and then mix it into the soil using your fork.
If you’re filling a raised bed for the first time, a good ‘growing medium‘ (the broad term gardeners use for anything you’re planting something in) split is 60% topsoil, which is lower quality – and therefore cheaper, mixed with 40% multi-purpose peat-free compost.
If you really want to help your freshly-prepared bed hit the ground running, so to speak, consider adding a layer of mulch too once you’ve planted your garden. Mulch will help to suppress weed growth, retain moisture, and, depending on which mulch you use, look very smart too. Your local garden centre will be able to provide most varieties of mulch should you wish to take this extra step.
Preparing a bed: Five Top Tips
Get everything you need ready beforehand
Whether it’s tools or compost, get them ready ahead. No one likes having to stop a job halfway through
Wear gloves
Removing plants, pulling out stones, and digging can be messy, spiky, hard work. Don’t say we didn’t warn you.
Damp, not drenched
The best time to prepare a bed is when the soil is damp or moist, rather than soaked. It is much easier to dig.
Peat-free
We harp on about it a lot, but peat-free compost makes all the difference. It’s just as nutritious and phenomenally better for the planet. Always check!
It’s worth the effort
It might seem like a lot of work preparing a bed, but it really does make a difference. A bit of manual labour now, the sun on your back, and a cold drink to look forward to afterwards will get your new garden off to a flying start.
And with that, your bed is ready for planting. Your Dig Instant Bed will come with a colour-coded ‘painting by numbers’ planting plan, and your plants will all come labelled and colour-coded to help you follow the professionally-designed plant layouts, as well as all the instructions you need to get them in the ground. If you can’t wait for that, then there’s also some advice on planting your new plants here.
As ever, if you’re really stuck, we’re only an email or Instagram message away.
Happy gardening!
~
*This is simply due to how we have designed our Instant Beds for the quickest route to transforming your outdoor space. If you need to work around existing planting, just drop us a line at hello@digclub.co.uk and we can look at a Bespoke solution, with an additional design cost.
